JavaScript

JavaScript is one of the core technologies used by the World Wide Web. 98% of all websites use JavaScript. Websites can now use the provided DUELink JavaScript library to access the physical world.
There are two ways to utilize JavaScript with DUELink, using a website or run locally using Node.js.
Getting Started
Visit loader.duelink.com to make sure your hardware is USB connected and has the latest DUELink Official firmware and related module drivers.
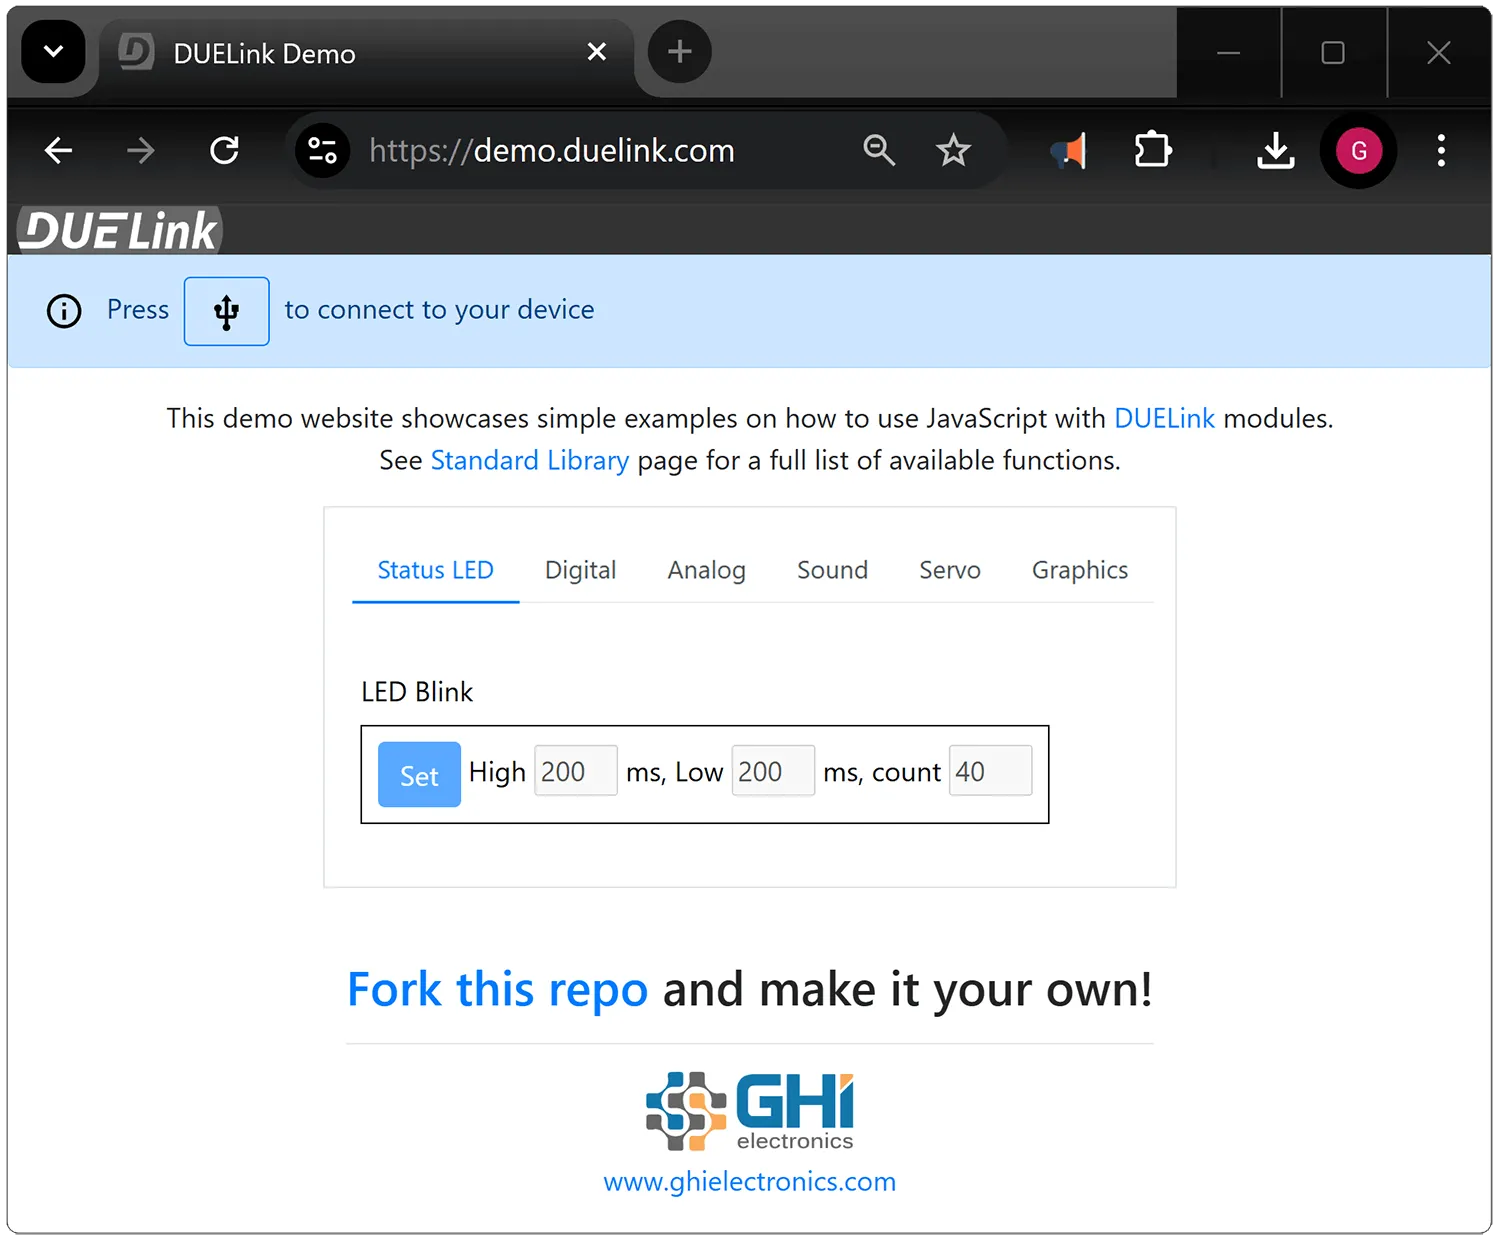
You can now quickly see JavaScript in action using demo.duelink.com. This JavaScript website demonstrates how to send DUELink script commands to DUELink modules from your local machine. The page sources are found here.
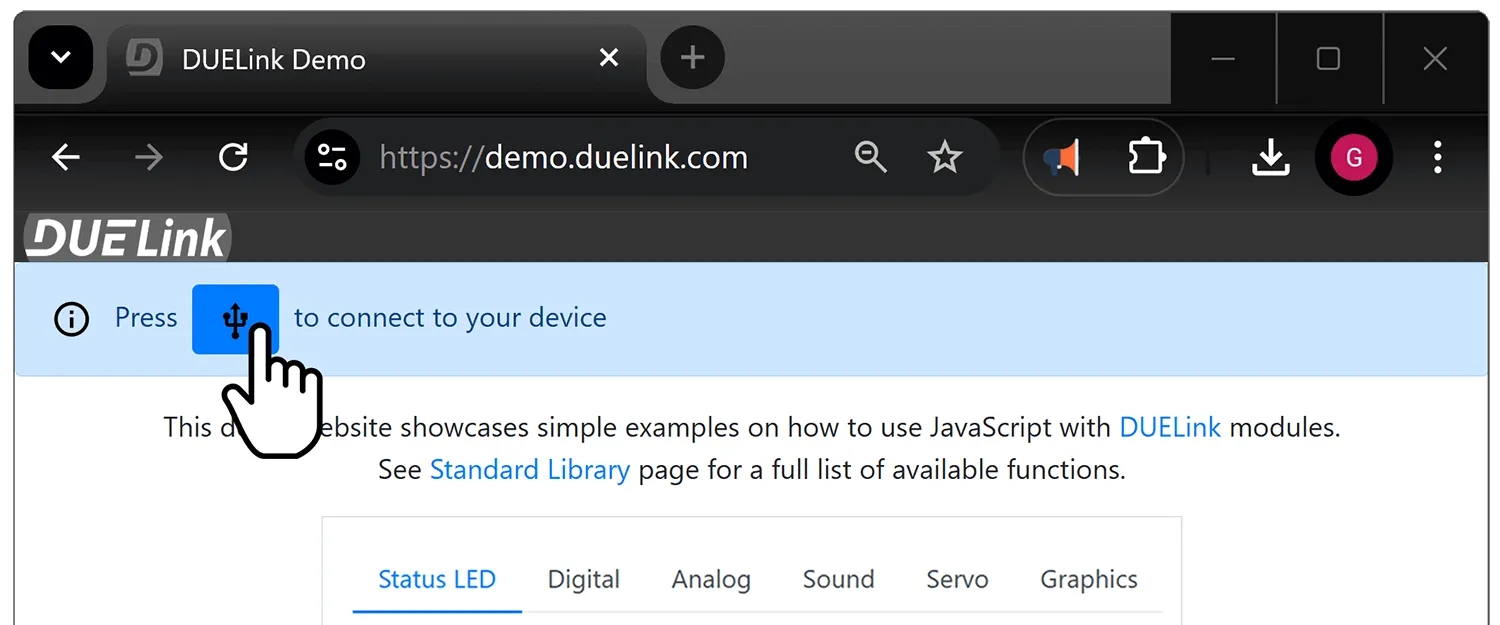
Open the demo site and click the Connect button then select DUELink Official option.
If you do not see DUELink Official in the pop-up window, then you need to load/update the firmware using loader.duelink.com/update.
The website will now discover and show the connected modules, a Ghizzy in this example.
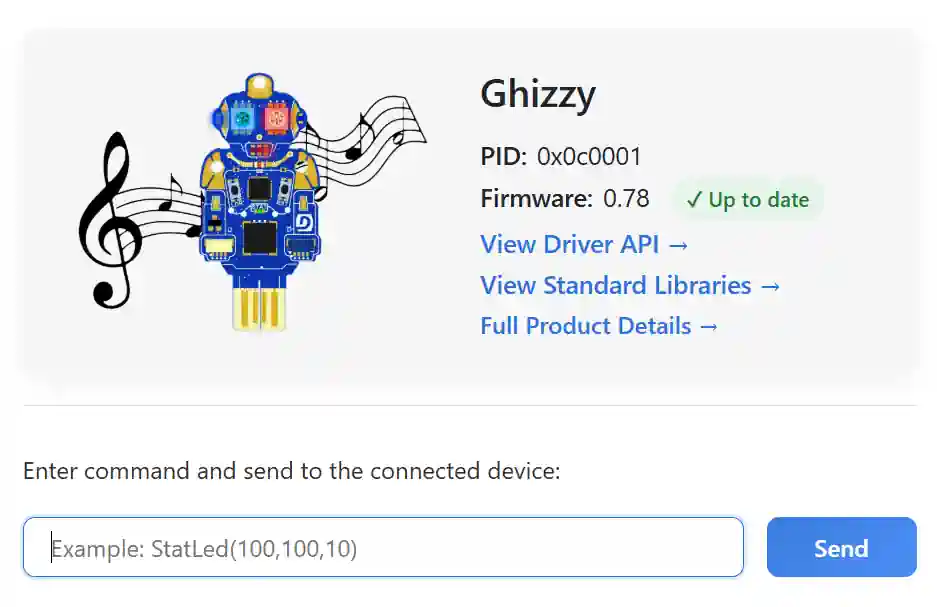
Once connected, you can enter any commands and click Send button to execute. An example is StatLed(200,200,10) that controls the STAT LED found on all modules. Commands can be any DUELink Script, but must be in a single line. For example, we can have a loop that counts to 0 to 9: for _x in range(10): Print(_x," "):Next. Note how multi-statements are separated by a : symbol.
The response box will show the command that was just sent and the response.
Sent: for _x in range(10): Print(_x," "):Next
Response: 0 1 2 3 4 5 6 7 8 9
Note that JavaScript is executing on a compatible supported hardware, which is the PC in this case. JavaScript does not run on the module itself! The Standalone page shows some options that run on modules directly.
Node.js
Similar to the demo website, you can also access modules from JavaScript programs using Node.js. If you did the earlier step, then you already have a module connected and ready.
Start a new project with a simple line of code to test that the project is running.
console.log("Hello World");
We now need to install the duelink package using npm install duelink. We also need the serialport dlserialusb package using npm install dlserialusb.
Our first program will blink the on-board status LED on a tethered module, on for 200ms then it shuts off for 800ms, and does this 20 times. We will be using SerialUSB() here, vs WebSerial() when running inside a website.
Note that using await is very critical because JavaScript is designed to run tasks asynchronously. DUELink accesses hardware live, in real-time, and things must run in order. Using await is required with anything DUELink!
import pkg_serialusb from 'dlserialusb';
const {SerialUSB} = pkg_serialusb

import pkg_duelink from 'duelink';
const {DUELinkController} = pkg_duelink

let duelink = new DUELinkController(new SerialUSB());
await duelink.Connect();

async function Blinky() {
  // Flash the LED  (on for 200ms, off for 800ms, 20 times)
  await duelink.System.StatLed(200, 800, 20);
}

Blinky();
The JavaScript library supports serial ports, which can be either UART or USB. The SerialUSB() function scans for a USB-connected DUELink module. You can also use a specific serial port number, for example SerialUSB("COM6"). This is useful with wireless Bluetooth connections.
Daisylinking
DUELink modules can be Daisylinked together. The duelink.Engine.Select() function is used to select the module to be listening to incoming commands.
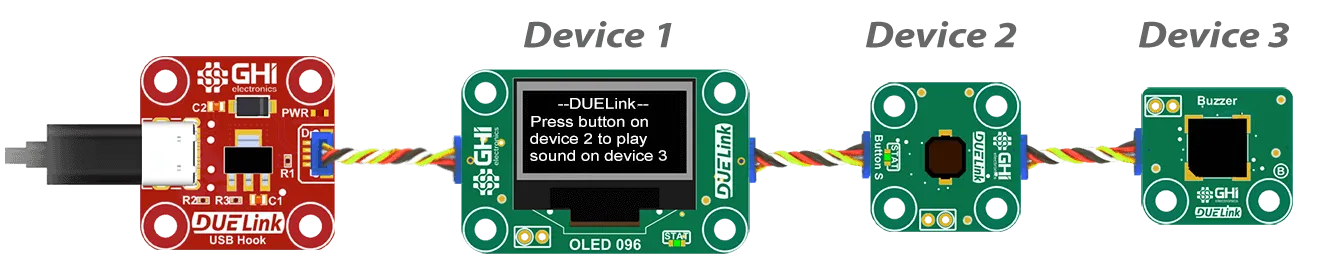
In the example below, we'll access an OLED Display, a Button, and a Buzzer.
Visit loader.duelink.com to "discover" modules and load the latest firmware and drivers.
import pkg_serialusb from 'dlserialusb';
const {SerialUSB} = pkg_serialusb

import pkg_duelink from 'duelink';
const {DUELinkController} = pkg_duelink

let duelink = new DUELinkController(new SerialUSB());
await duelink.Connect();

function sleep(ms) {
    return new Promise(resolve => setTimeout(resolve, ms));
}

async function main() {
    // Device 1 is Display OLDE 0.96, with driver installed!
    // Device 2 is button
    // Device 3 is buzzer
    duelink.ReadTimeout = 100; // milliseconds

    await duelink.Engine.Select(1);
    await duelink.Graphics.Clear(1);
    await duelink.Graphics.Text("DUELink", 0, 10, 10);
    await duelink.Graphics.Text("Press button on", 0, 1, 21);
    await duelink.Graphics.Text("device 2 to play", 0, 1, 31);
    await duelink.Graphics.Text("sound on device 3", 0, 1, 41);
    await duelink.Graphics.Show();

    await duelink.Engine.Select(2);
    await duelink.Button.Enable(1, 0);

    while (true) {
        await duelink.Engine.Select(2);
        if (await duelink.Button.Down(1)) {
            await duelink.Engine.Select(3);
            await duelink.Frequency.Write(7, 1000, 50, 0.5);
        }
        await sleep(100); // Sleep 100 milliseconds
    }
}

// Run the main function
main();
Code Samples
Individual product pages include specific JavaScript code samples, under Tethered Samples.
Don't forget to visit the projects section as well.